This is one of those technical posts. It is about motion blur, and about doing it with Iray and Daz Studio for stills in particular. All you get to see are boring graphs and Tara’s muddy leg in various states of bluriness. If none of that is of interest to you, you can stop reading now.
When rendering 3D images with Daz Studio, you get a perfectly crisp image by default. This may seem like a photographer’s dream, but in truth bluriness is useful to convey information. Depth of field
is used to simulate camera focus and blur anything in front of or behind the subject. Motion blur gives a sense of speed relative to other objects or people in the scene. A little blur can add quite a bit of realism to the scene when used subtly. Or motion blur can be used for great effect when wildly exaggerated.
How to get motion blur?
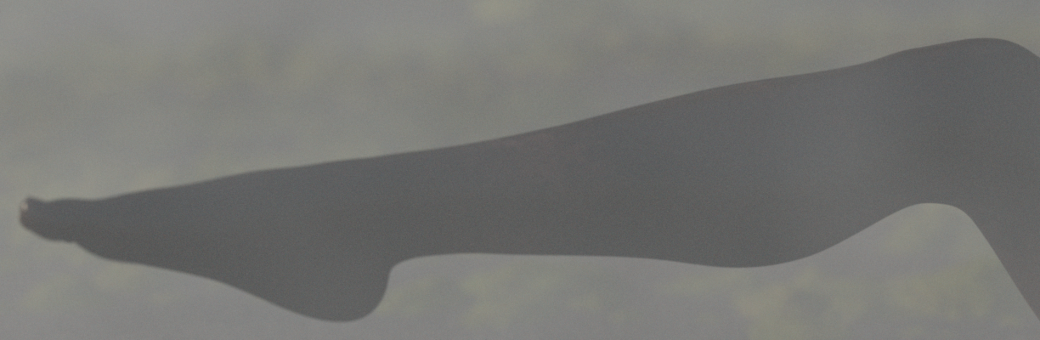
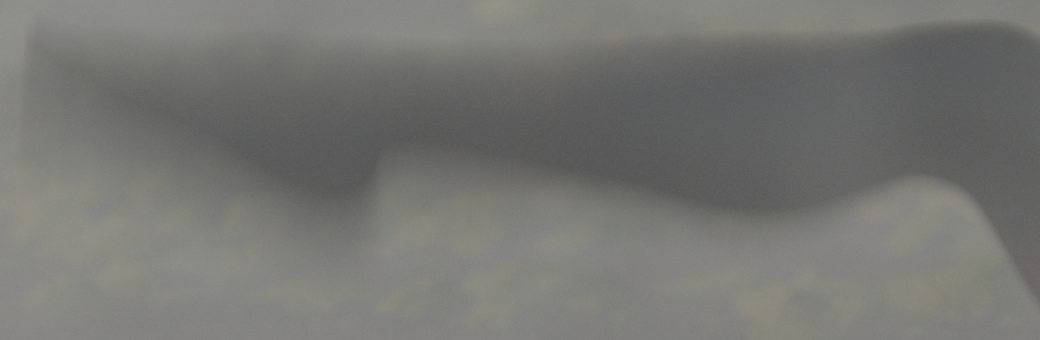
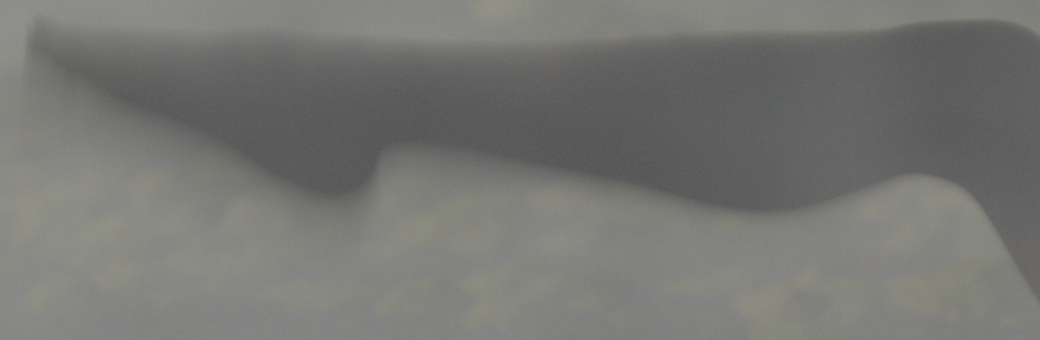
Frame 1
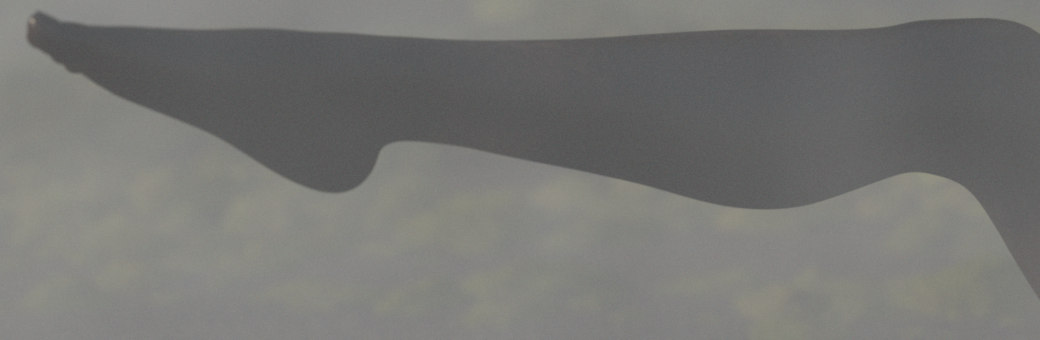
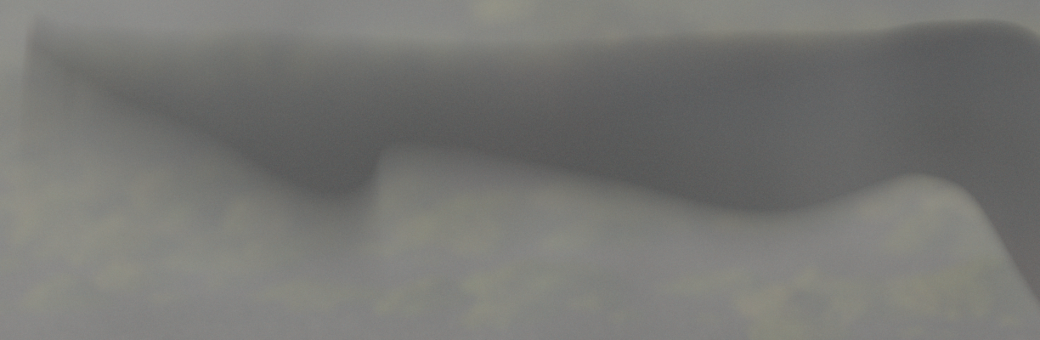
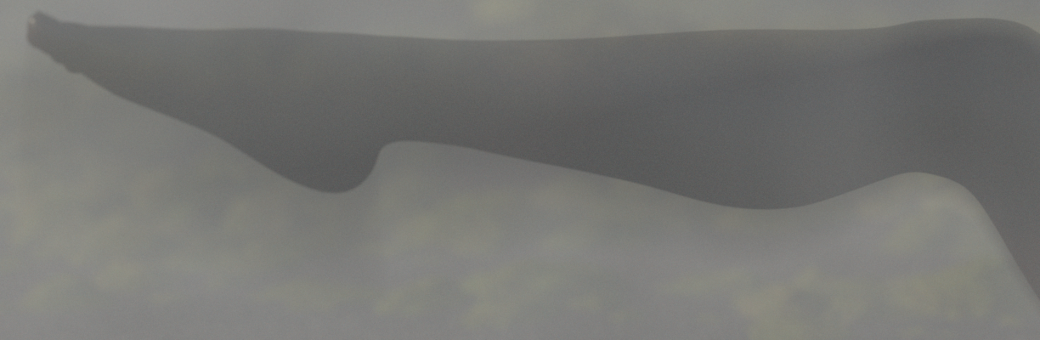
Frame 50
While depth of field can be easily activated in Daz Studio, motion blur is still not supported with the Iray renderer today. Even though Iray does support motion blur and Daz Studio has supported motion blur with the 3Delight renderer for a long time. But there are still plenty of options without support from Daz.
One way of achieving this effect is by rendering a short animation instead of a single frame and then blending those frames together. This is not exactly the most effiecient way of doing things (you could get away with way fewer frames with motion vectors either from the renderer or some motion estimation tool), but I went ahead and did it anyway - rendering 50 frames instead of one - just to have them blended together into one eventually.
To illustrate I will show one particular cropped part of these imaegs with a lot of motion. Frame 1 and frame 50 are the first and last frame in the sequence (the slight blurring is due to camera focus).
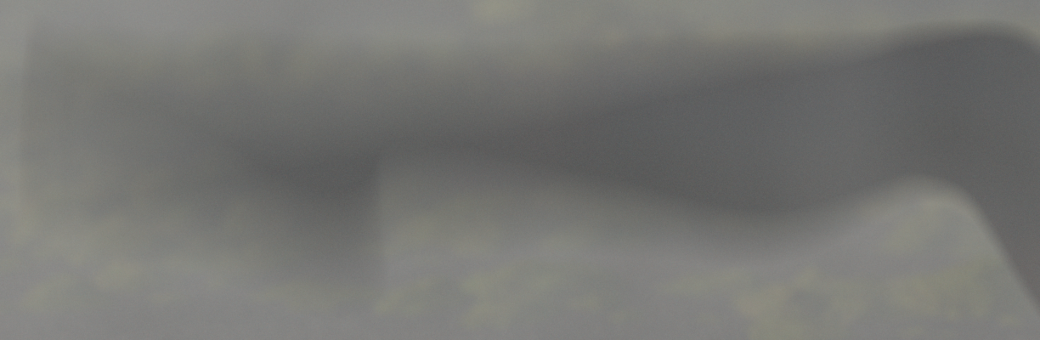
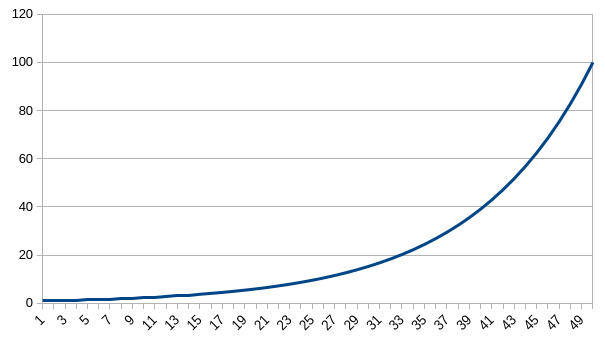
Equal weight result
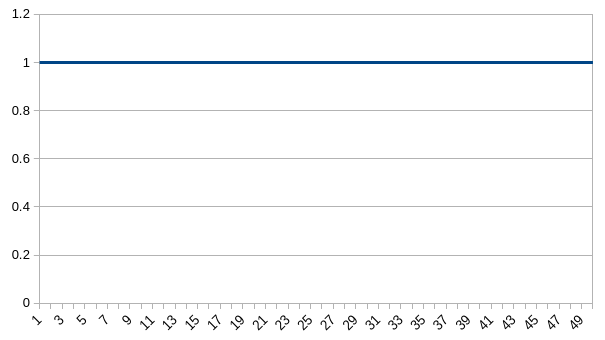
Equal weight graph
The simplest and actually most realistic way to blend them into one is to treat all frames equally when blending them together. You could say that every pixel of the final image is composed 2% of the corresping pixels in each of the 50 renders. The result is an evenly blurred image. This is fine for animation where the direction of the motion is obvious, but for a single still image this is not so ideal.
The direction of the motion may not be discernable at all (unless this is in the context of a sequence). Also, the resulting image is so blurry that you cannot really see anything much. This is partially due to the exaggerated amount of motion in this example, but also due to this type of blending that I will label “equal weight”, because each frame contributes the same amount to the output.
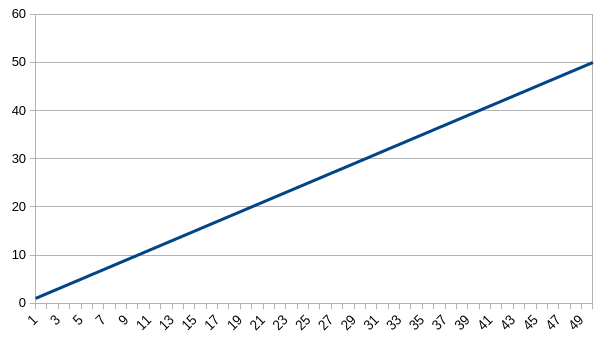
Linear weight result
Linear weight graph
Typically you would want to give more weight to later frames. That establishes a direction for the motion. A simple way to do so is a linear increase in weight meaning frame 50 contributes 50 times as much to the final image as frame 1. The result is still quite blurry, but at least the viewer gets a better idea of the shape that is moving and where it is going.
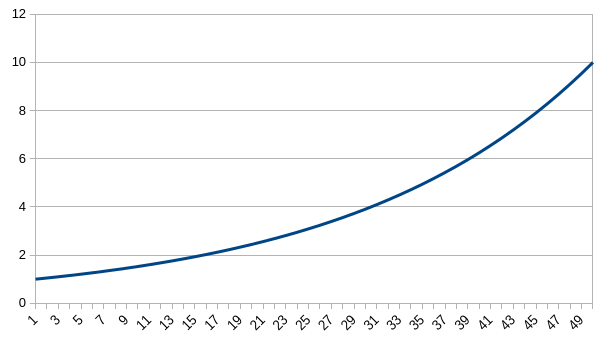
Exponential weight 10 result
Exponential weight 10 graph
To give even more weight to the later frames you can use an exponential function. Here the final frames weighs 10 times as much as the first one.
Exponential weight 100 result
Exponential weight 100 graph
Or is that is not enough you can make the exponential curve steeper, like eg. giving the final frame 100 times the weight of the first. The steeper the curve is, the more subtle the effect becomes.
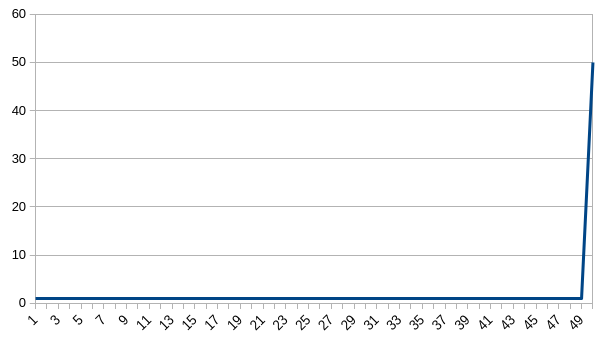
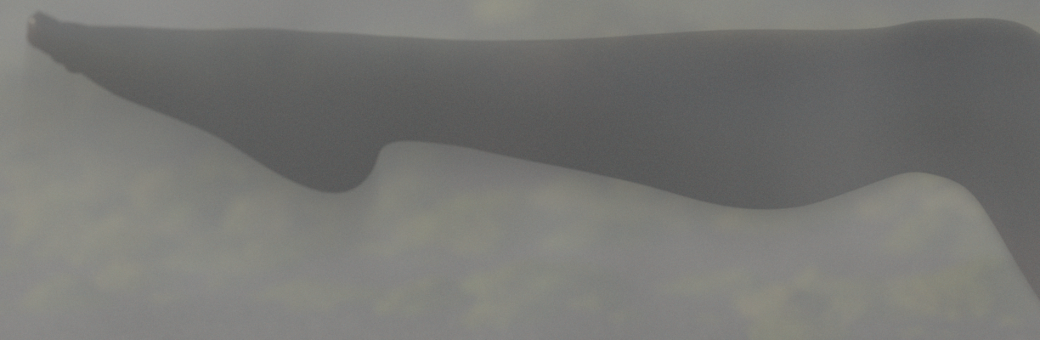
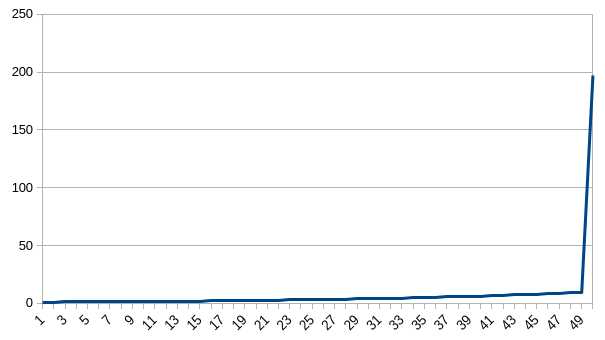
Equal weight + emphasis on last result
Equal weight + emphasis on last graph
Going back to the first blending example with the equal weights, we can also simply tweak that and assign more weight only to the last frame. This gives us a somewhat clearer image and more detail, but the motion looks slightly odd. In fact it looks more like a shadow to me, but this impression may be influenced by the foggy environment and the fact that the motion/shadow happens underneath leg.
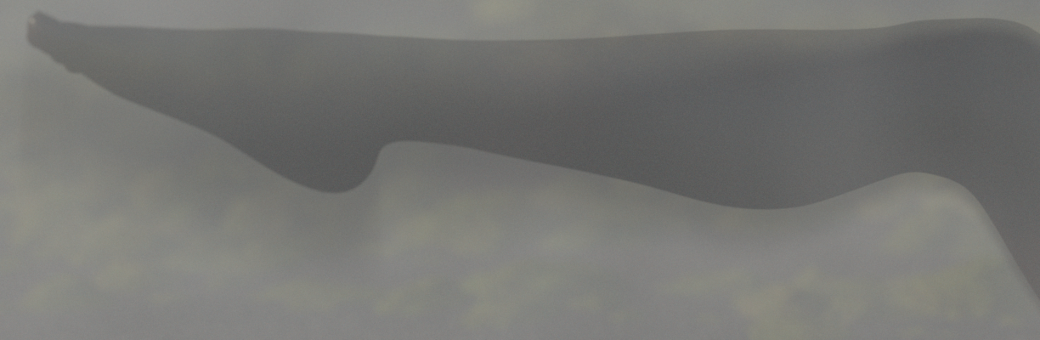
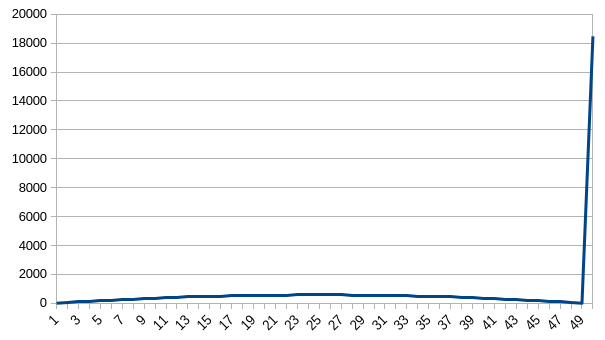
Exponential weight 10 + emphasis on last result
Exponential weight 10 + emphasis on last graph
But, increasing the weight of the last frame can be combined with any of the other weight functions as well. Like eg. the exponential functions.
Inverse squared + emphasis on last result
Inverse squared + emphasis on last graph
You can even choose functions that do not steadily increase in value and still get decent results. This one assigns the highest weights near the middle (around frame 25) and then falls back down to zero. This introduces a bit of a gap between the blur and the final position.
What's Next?
So now you know what I have been doing on the side for the past two months or so. And I am not quite done with these experiments yet. A small update showing the completed scene with Tara will follow. Beyond that, I really want to optimize this motion blur process.
Increasing the number of frames by factor 50 and thus also increasing rendering time by the same factor was OK for these experiments, but it is not something I intend to do on a regular basis.
I mentioned motion estimation, which is typically used by video codecs that compare frames and identify motion vectors to do compression. But that can also be used to interpolate frames in between at low cost and improve motion blur. At least in theory as I have yet to find the proper tools to do so. Another way to optimize depends on these weight functions I have been testing.
Frames that have a negligible effect on the final image need not be rendered at all. I think a threshold of 1% should work fine with most of these functions, but that too will require more experiments.